Spring Holiday Cookies
Making these adorable spring cookies was a successful family affair. It was still chilly outside on Sunday morning so instead of running out to the playground we decided to make cookies. John and I were excited but Gabriel beamed once he realized that the step-ladder his daddy brought over was meant to facilitate a first class engagement with the goings of the kitchen countertop. All the ingredients were ready to go but things with a toddler have to move fast otherwise he or she will start fidgeting in anticipation of the next activity.
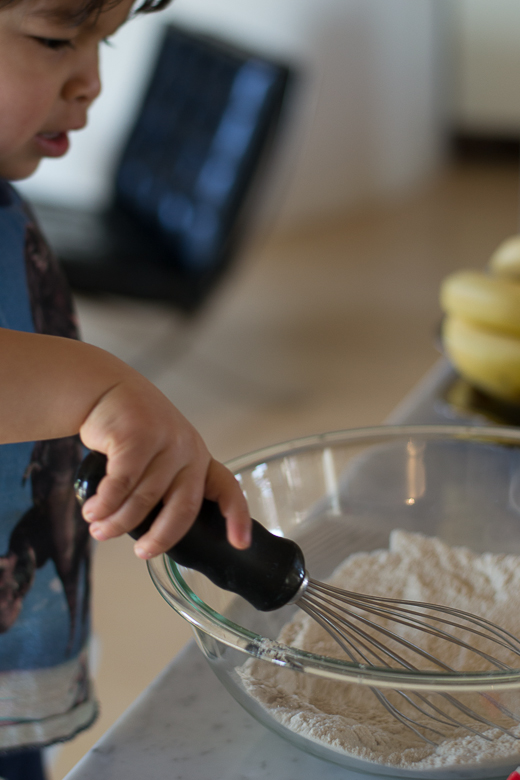
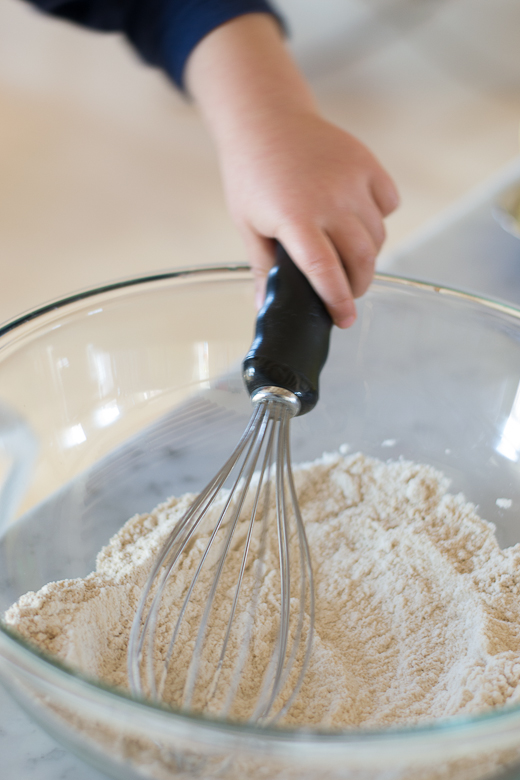
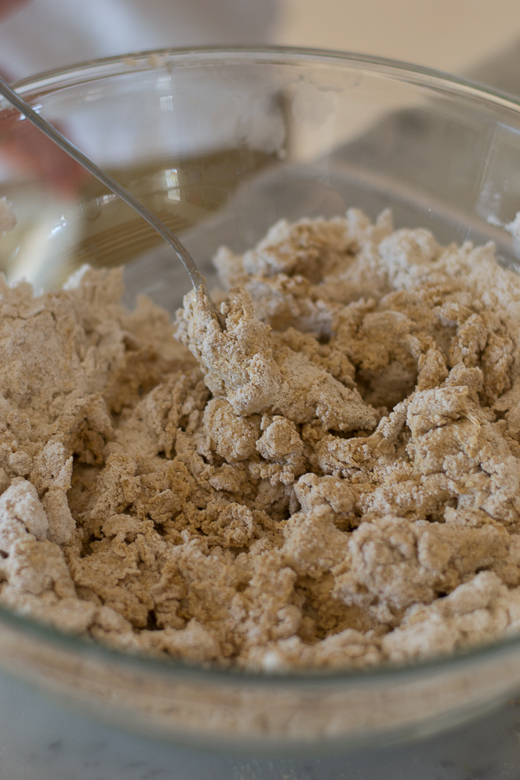
We started by measuring flours and plopping them into the mixing bowl. I realize that plopping is not an elegant word but it is accurate to describe Gabriel’s technique. Flour and happiness everywhere. Next we all whisked taking turns with two different whisks. First mama then Gabriel then daddy, then two of us at a time making havoc in the bowl. Not sure how much flour jumped out during our whisking session but the cookies still came out great.
Whisk to the right, whisk to the left, whisk up in the air.
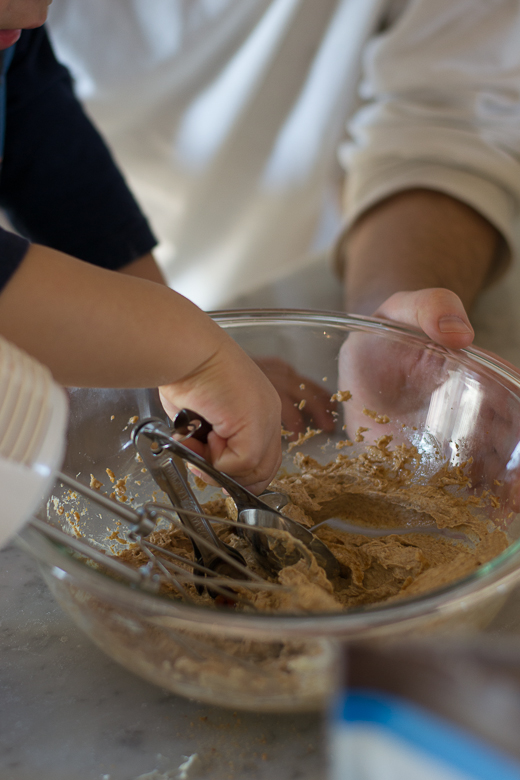
We then mixed and whipped the wet ingredients in a separate bowl with the hand-held mixer. Lowest and safest speed brought priceless fun. My hands on top of little ones swirled the mixer around the bowl with only small amounts of dough making their way unto my face.
When all ingredients came together G seemed to have lost interest. But only temporarily. Mama has a plan!
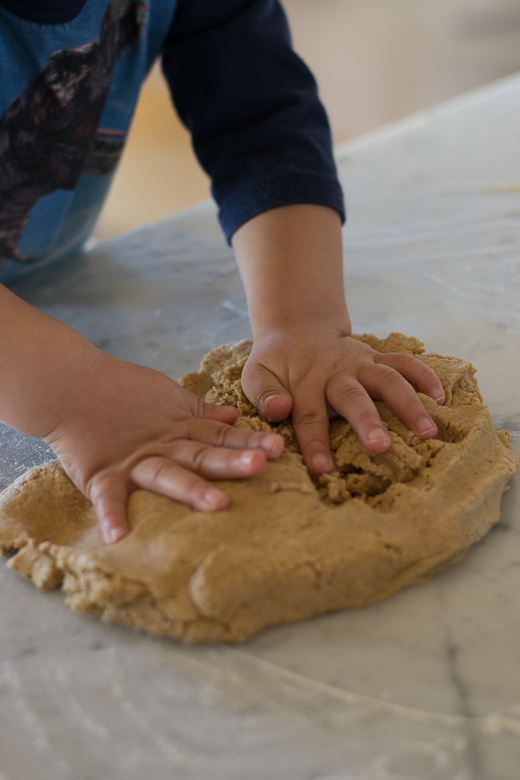
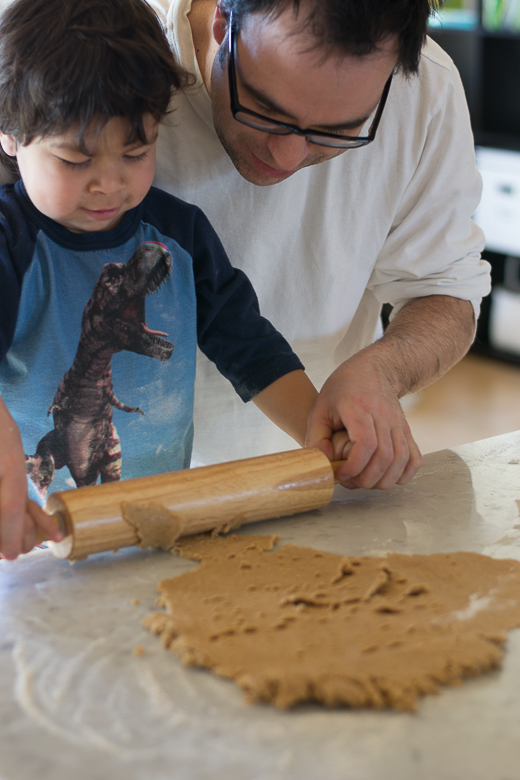
Next activity: little fingers in the dough. My pastry sous chefs enjoyed this way too much. They then dusted the countertop with flour and rolled, and repeated this a few more times.
G was beginning to understand that we were actually making galletas, which I promised would be in shapes of chicks and bunnies. Initially he thought I meant that we would be reading his book Conejito No Puede Dormir when I mentioned bunnies. What a surprise when conejitos was all about making cookies instead!
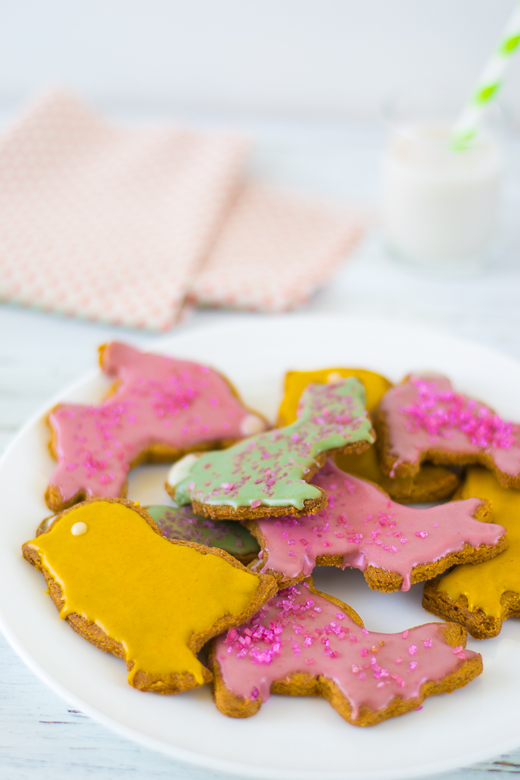
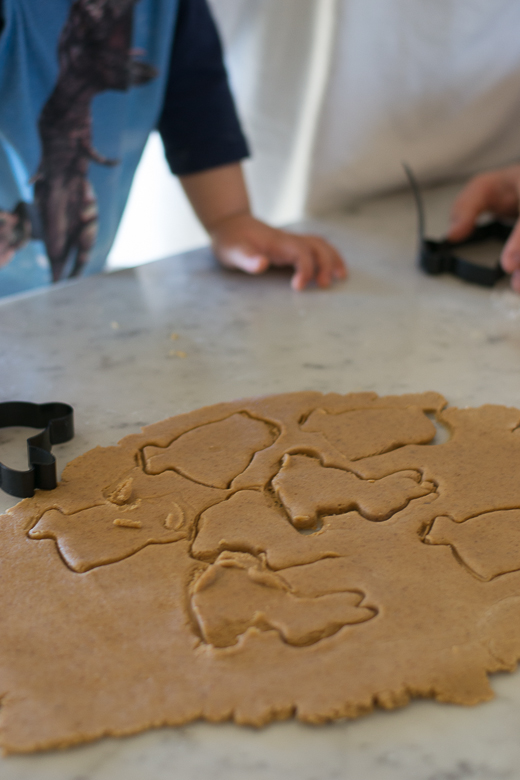
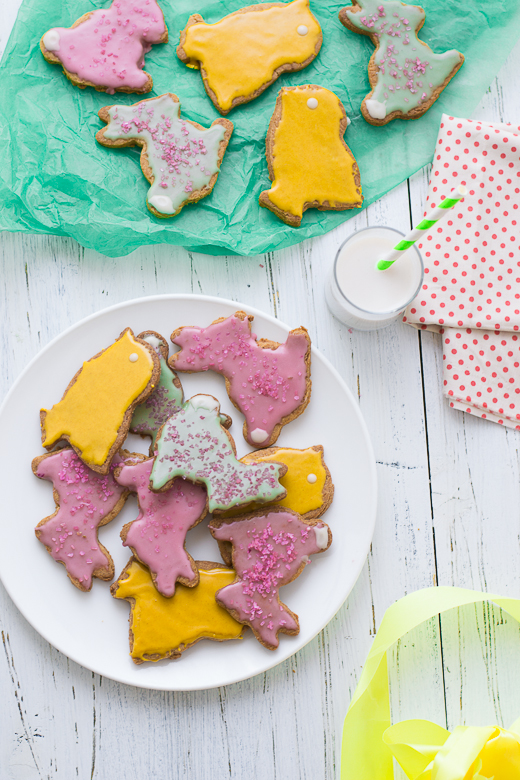
G cut some bunnies and chicks, J a couple more and then I fixed most of them. But it’s all about the fun isn’t it.
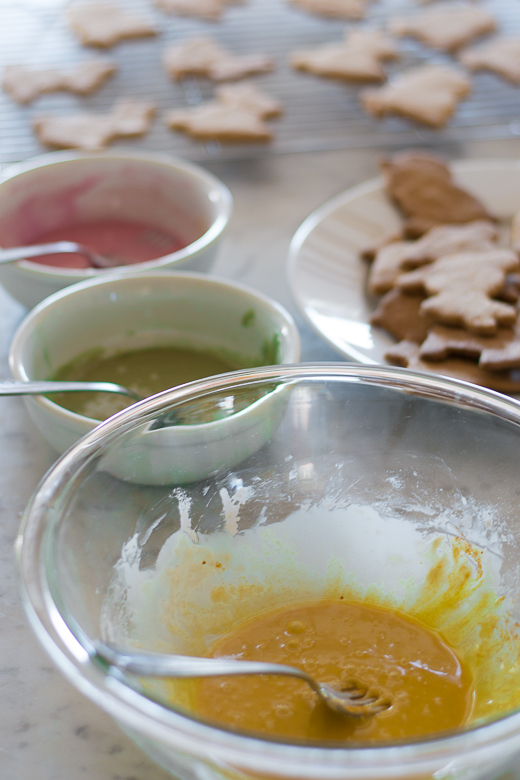
We made the sugar icing with natural colorings including turmeric, chlorophyll and beet juice. Just gradually add small amounts of these ingredients to the sugar icing until you get the desired hue.
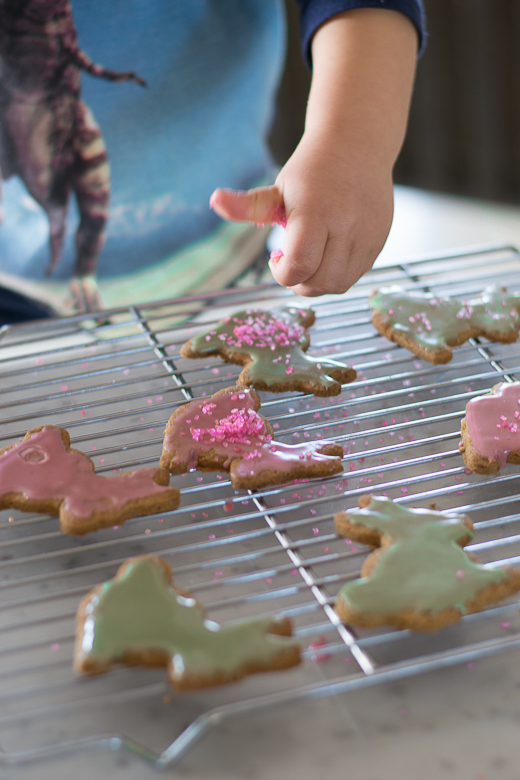
Sprinkle away!
Conejitos y pollitos everywhere!
 John and I immediately swallowed down a few cookies and thought G would want at least one or two. Nope. G just wanted to play with the dough it seems. Maybe it hasn’t caught on yet that these bunnies and chicks are just cookies and not actual animals? So proud of my little vegetarian boy…
- ¾ cup of white sorghum flour
- ¾ cup brown rice flour
- ½ cup white rice flour
- ¾ cup tapioca starch
- 1½ teaspoons xanthan gum
- 1 teaspoon baking powder
- ½ teaspoon salt
- 1¾ sticks (14 tablespoons) of non-dairy butter spread like Earth Balance
- ¾ cups coconut sugar
- 1 teaspoon pure vanilla extract
- 1 tablespoon flaxseed meal mixed with 2 tablespoons of water
- 2 cups confectioner’s sugar
- 2 tablespoons soy, almond or rice milk plus extra for consistency
- 1 teaspoon pure vanilla extract
- Set oven rack to middle position and preheat oven to 350F
- Line two baking sheets with parchment paper
- In a large mixing bowl whisk together sorghum, brown rice and white flours
- Whisk in tapioca starch, xanthan gum, baking powder and salt
- In a separate bowl and with an electric mixer, mix together butter, sugar, vanilla and flaxseed meal on low-speed for 2 minutes
- Add sugar and butter mixture to dry ingredients and mix together until dough forms
- Dust countertop or rolling mat with flour
- Roll out dough to about an ⅛ of an inch in thickness
- Cut shapes with cookie cutters and place on baking sheet
- Bake for 12-14 minutes or until cookies are a light golden brown
- Place cookies on drying rack until completely cool
- Makes 24 to 27 cookies
- In a medium mixing bowl combine sugar, vanilla and milk
- Divide mixture into three different bowls and add desired colorings to each
- Add more milk if needed until you have a spreadable paste
- With a knife or icing utensil spread a thin layer of icing on cookies alternating colors
- Place cookies on drying rack and sprinkle with colored sugar (optional)
- Let icing harden and serve
Pin It









i love that you included pics of G & J!!! Was so great to see them from so far away. xxx
They were so cute making cookies together! can’t wait to see you! xxx
[…] that spring up at Easter are always a welcome sight after the darker colors of winter. These Easter Cookies, from Tabitha at Kitchen to Nirvana, celebrate a bright range of colors and will give any feast a […]
Hi Tabatha! You don’t know how glad I am that you shared natural food coloring options! I definitely don’t use artificial colors and the one time I tried to use a natural color (spirulina for green), it was not good. The icing tasted like spirulina lol! But I love the tumeric and beet juice idea…perfect!
Oh…and I LOVE your little kitchen helper! Doesn’t it just make your heart melt when they pull up the step stool and want to help?
We had so much fun baking that day. The little fingers in the dough were priceless. I figure if I start my little kitchen helper cooking now then maybe he’ll make cookies for me in a few years and I can sit back and watch 🙂
[…] Consigue la receta aquí. […]