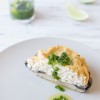
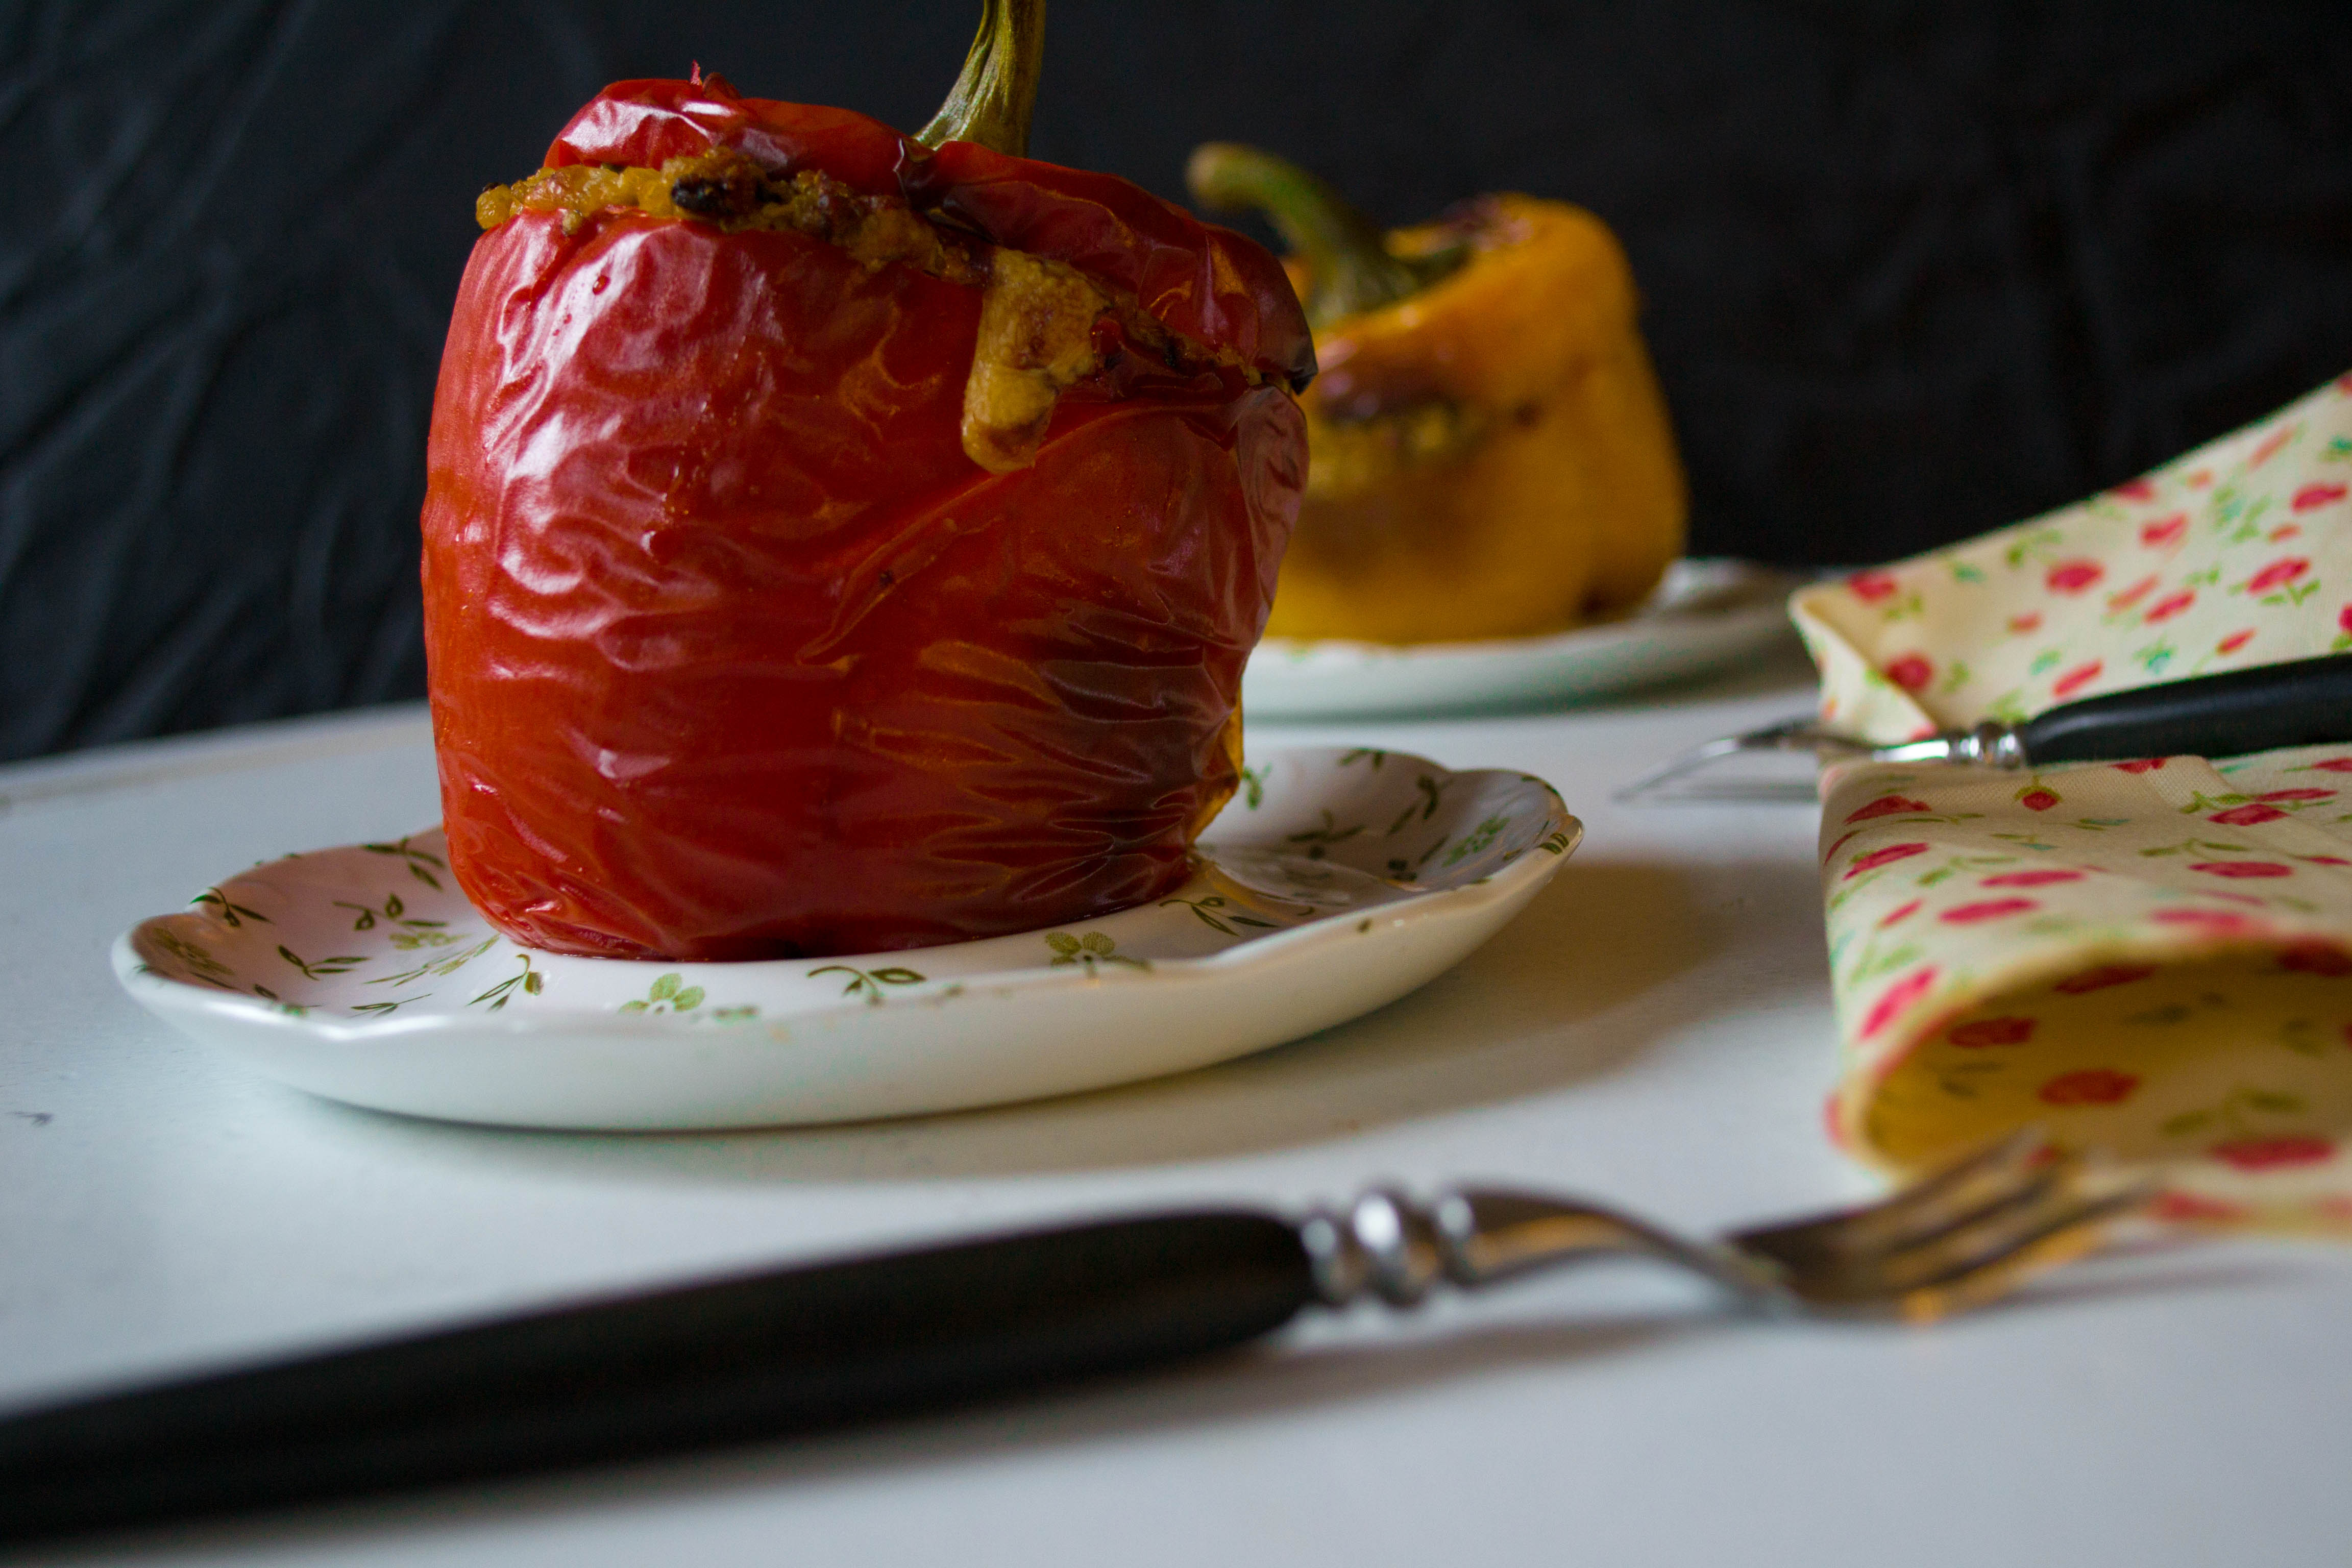
Spanish Stuffed Peppers
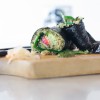
spanish stuffed peppers in late afternoon light
My day just flew by and I missed the afternoon light that I wanted to photograph these peppers (I am beginning to learn how to photograph and style my dishes finally). Then my toddler woke up from his nap and I had to shoot around him, trying to follow the light with my lens while running around with my tripod avoiding his little hands from catching the metal legs. In the end I ended up with a Caravaggesque still life and then another lighter photo that is a striking difference from the former. Amazing what light can do.
I was reading through an old cookbook that I picked up in Buenos Aires a few years ago and a recipe for stuffed peppers brought me back to my childhood. Growing up in Peru, we had a cook who made amazing dishes with lots of cumin and stuffed peppers was one of them. I have substituted the meat for tempeh and the texture is just as chewy and thick and the flavor is woodsy from the heavy hand in cumin.
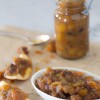
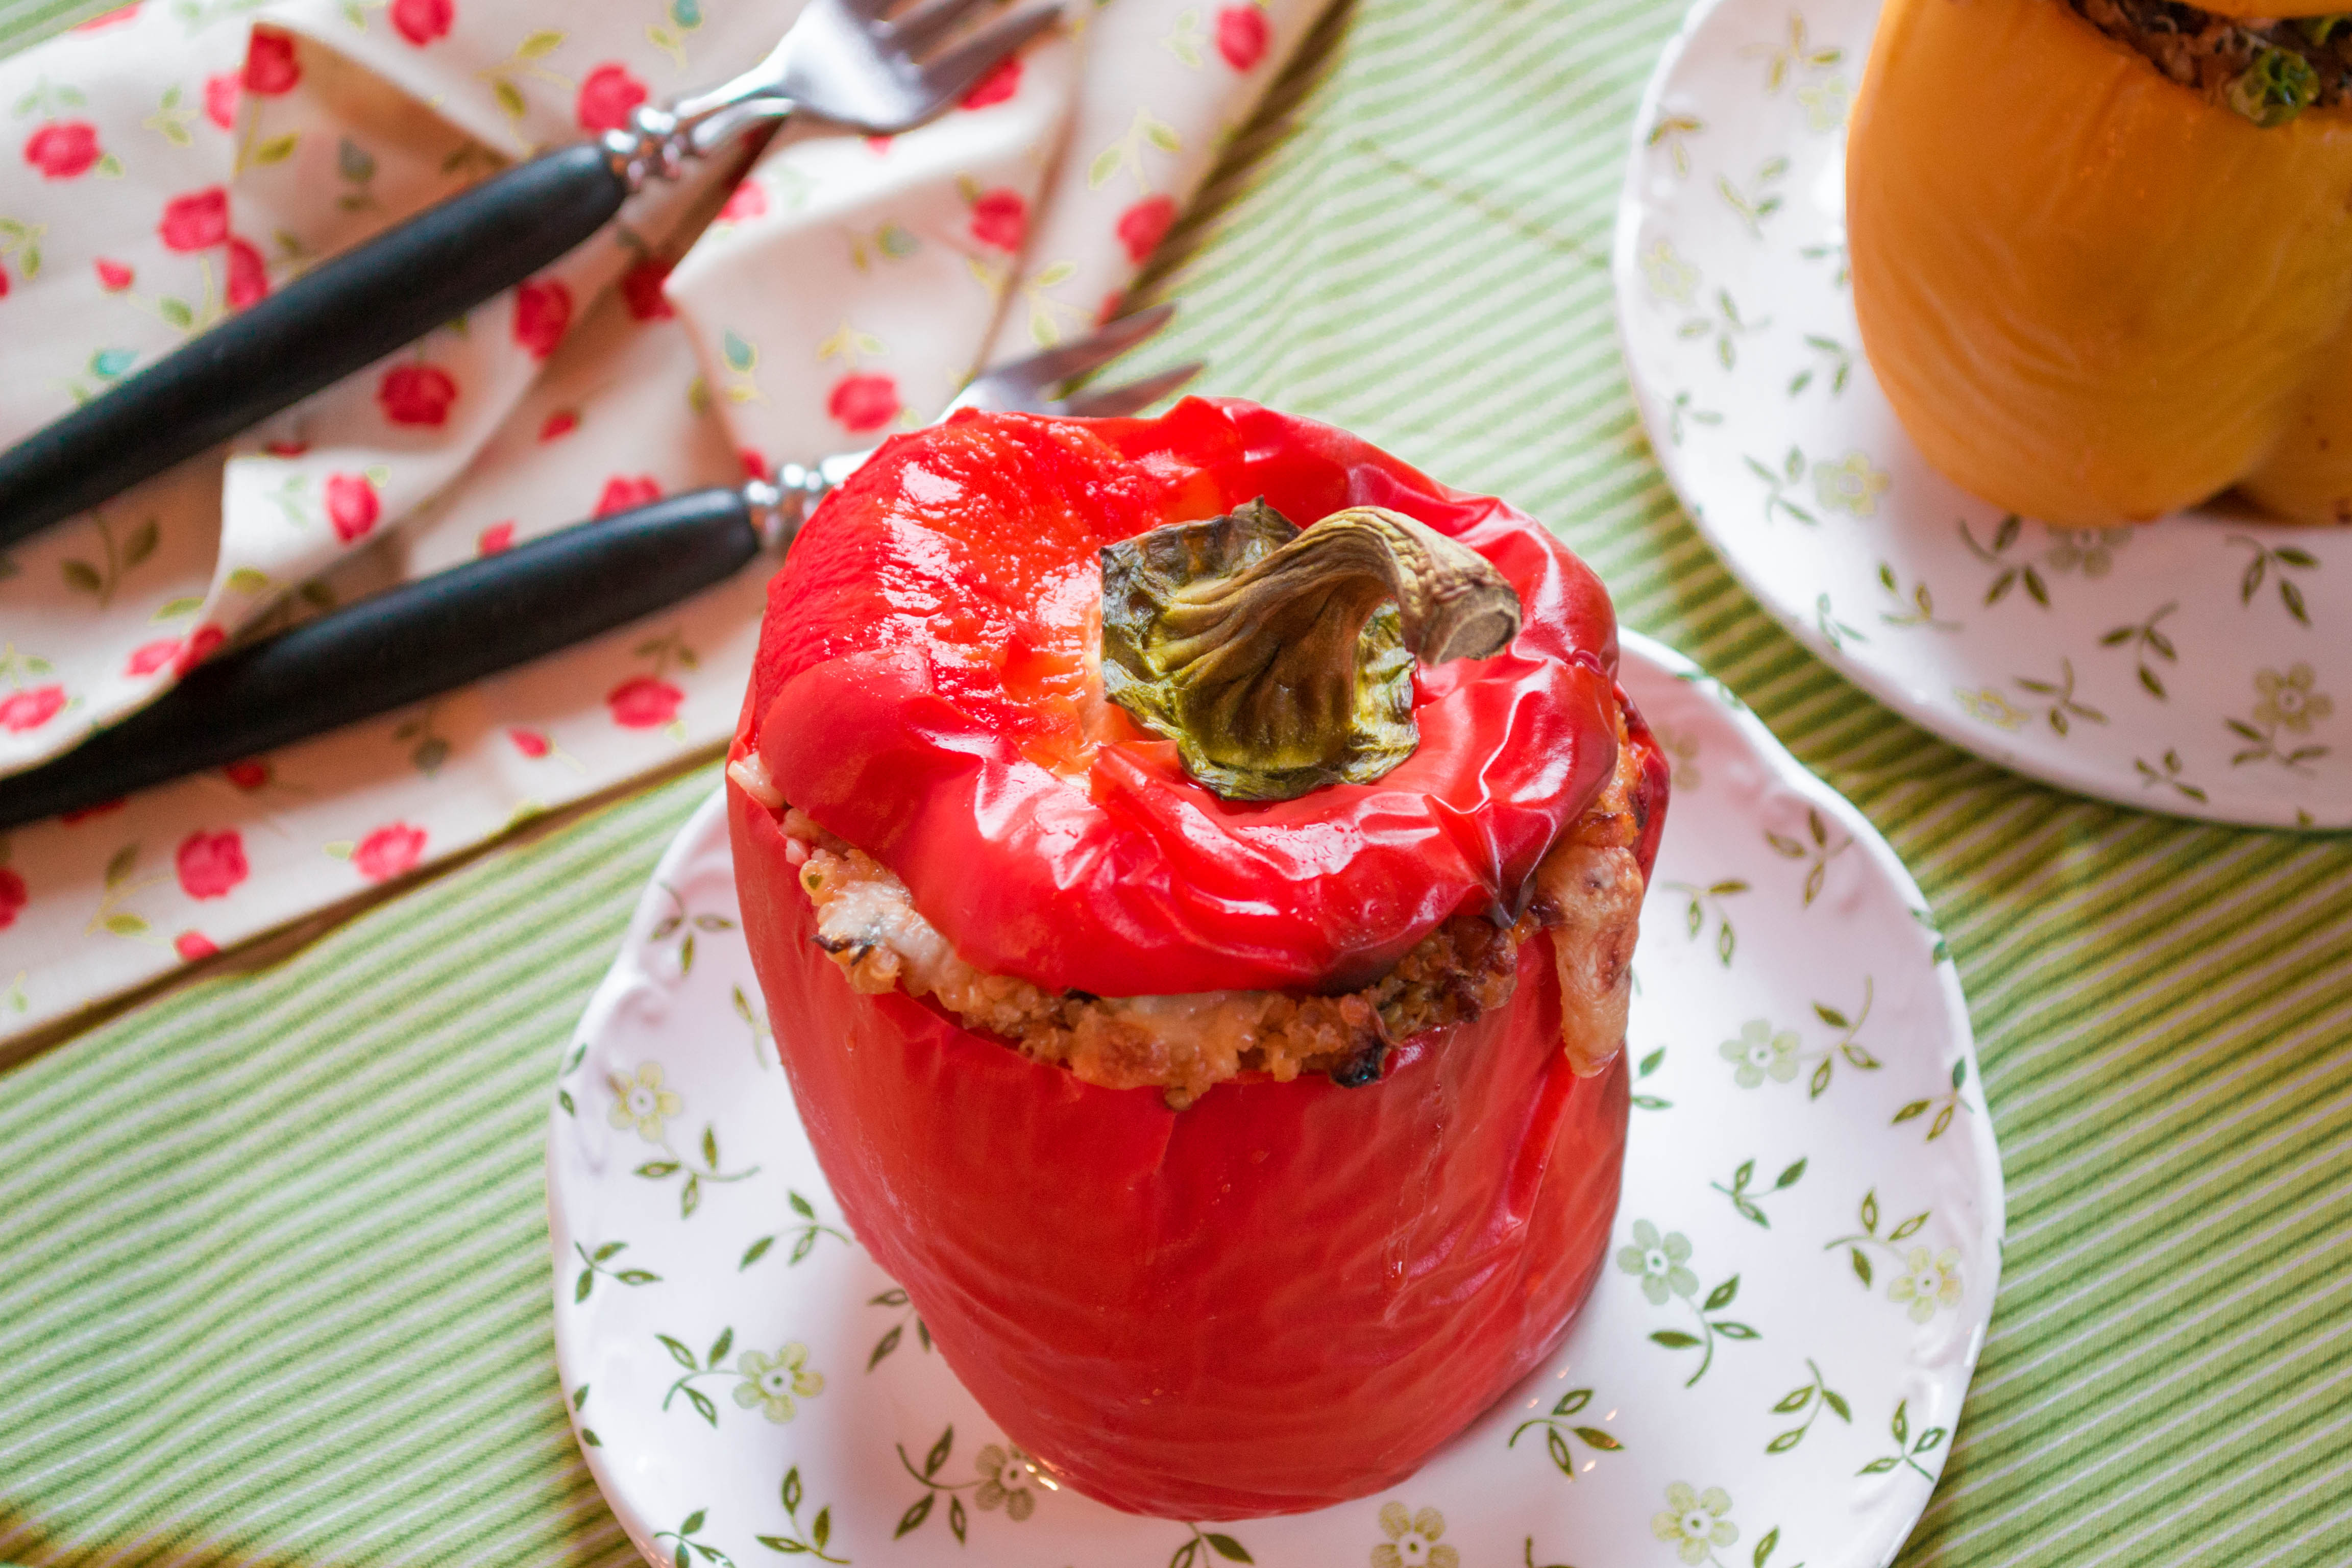
cumin from peru
My mother visited from Peru last year and she brought me a small bag of fresh Peruvian cumin that is beautiful deep moss color and I swear the taste is just as deep as the hue. The smell has become an obsession for me. Just take in a whiff of the onions, garlic and cumin as you whisk them around the pot and you will be transported to a land of succulent spice. My husband was suspicious for a moment that there may actually be meat in this dish from the permeating smell…he should know better.
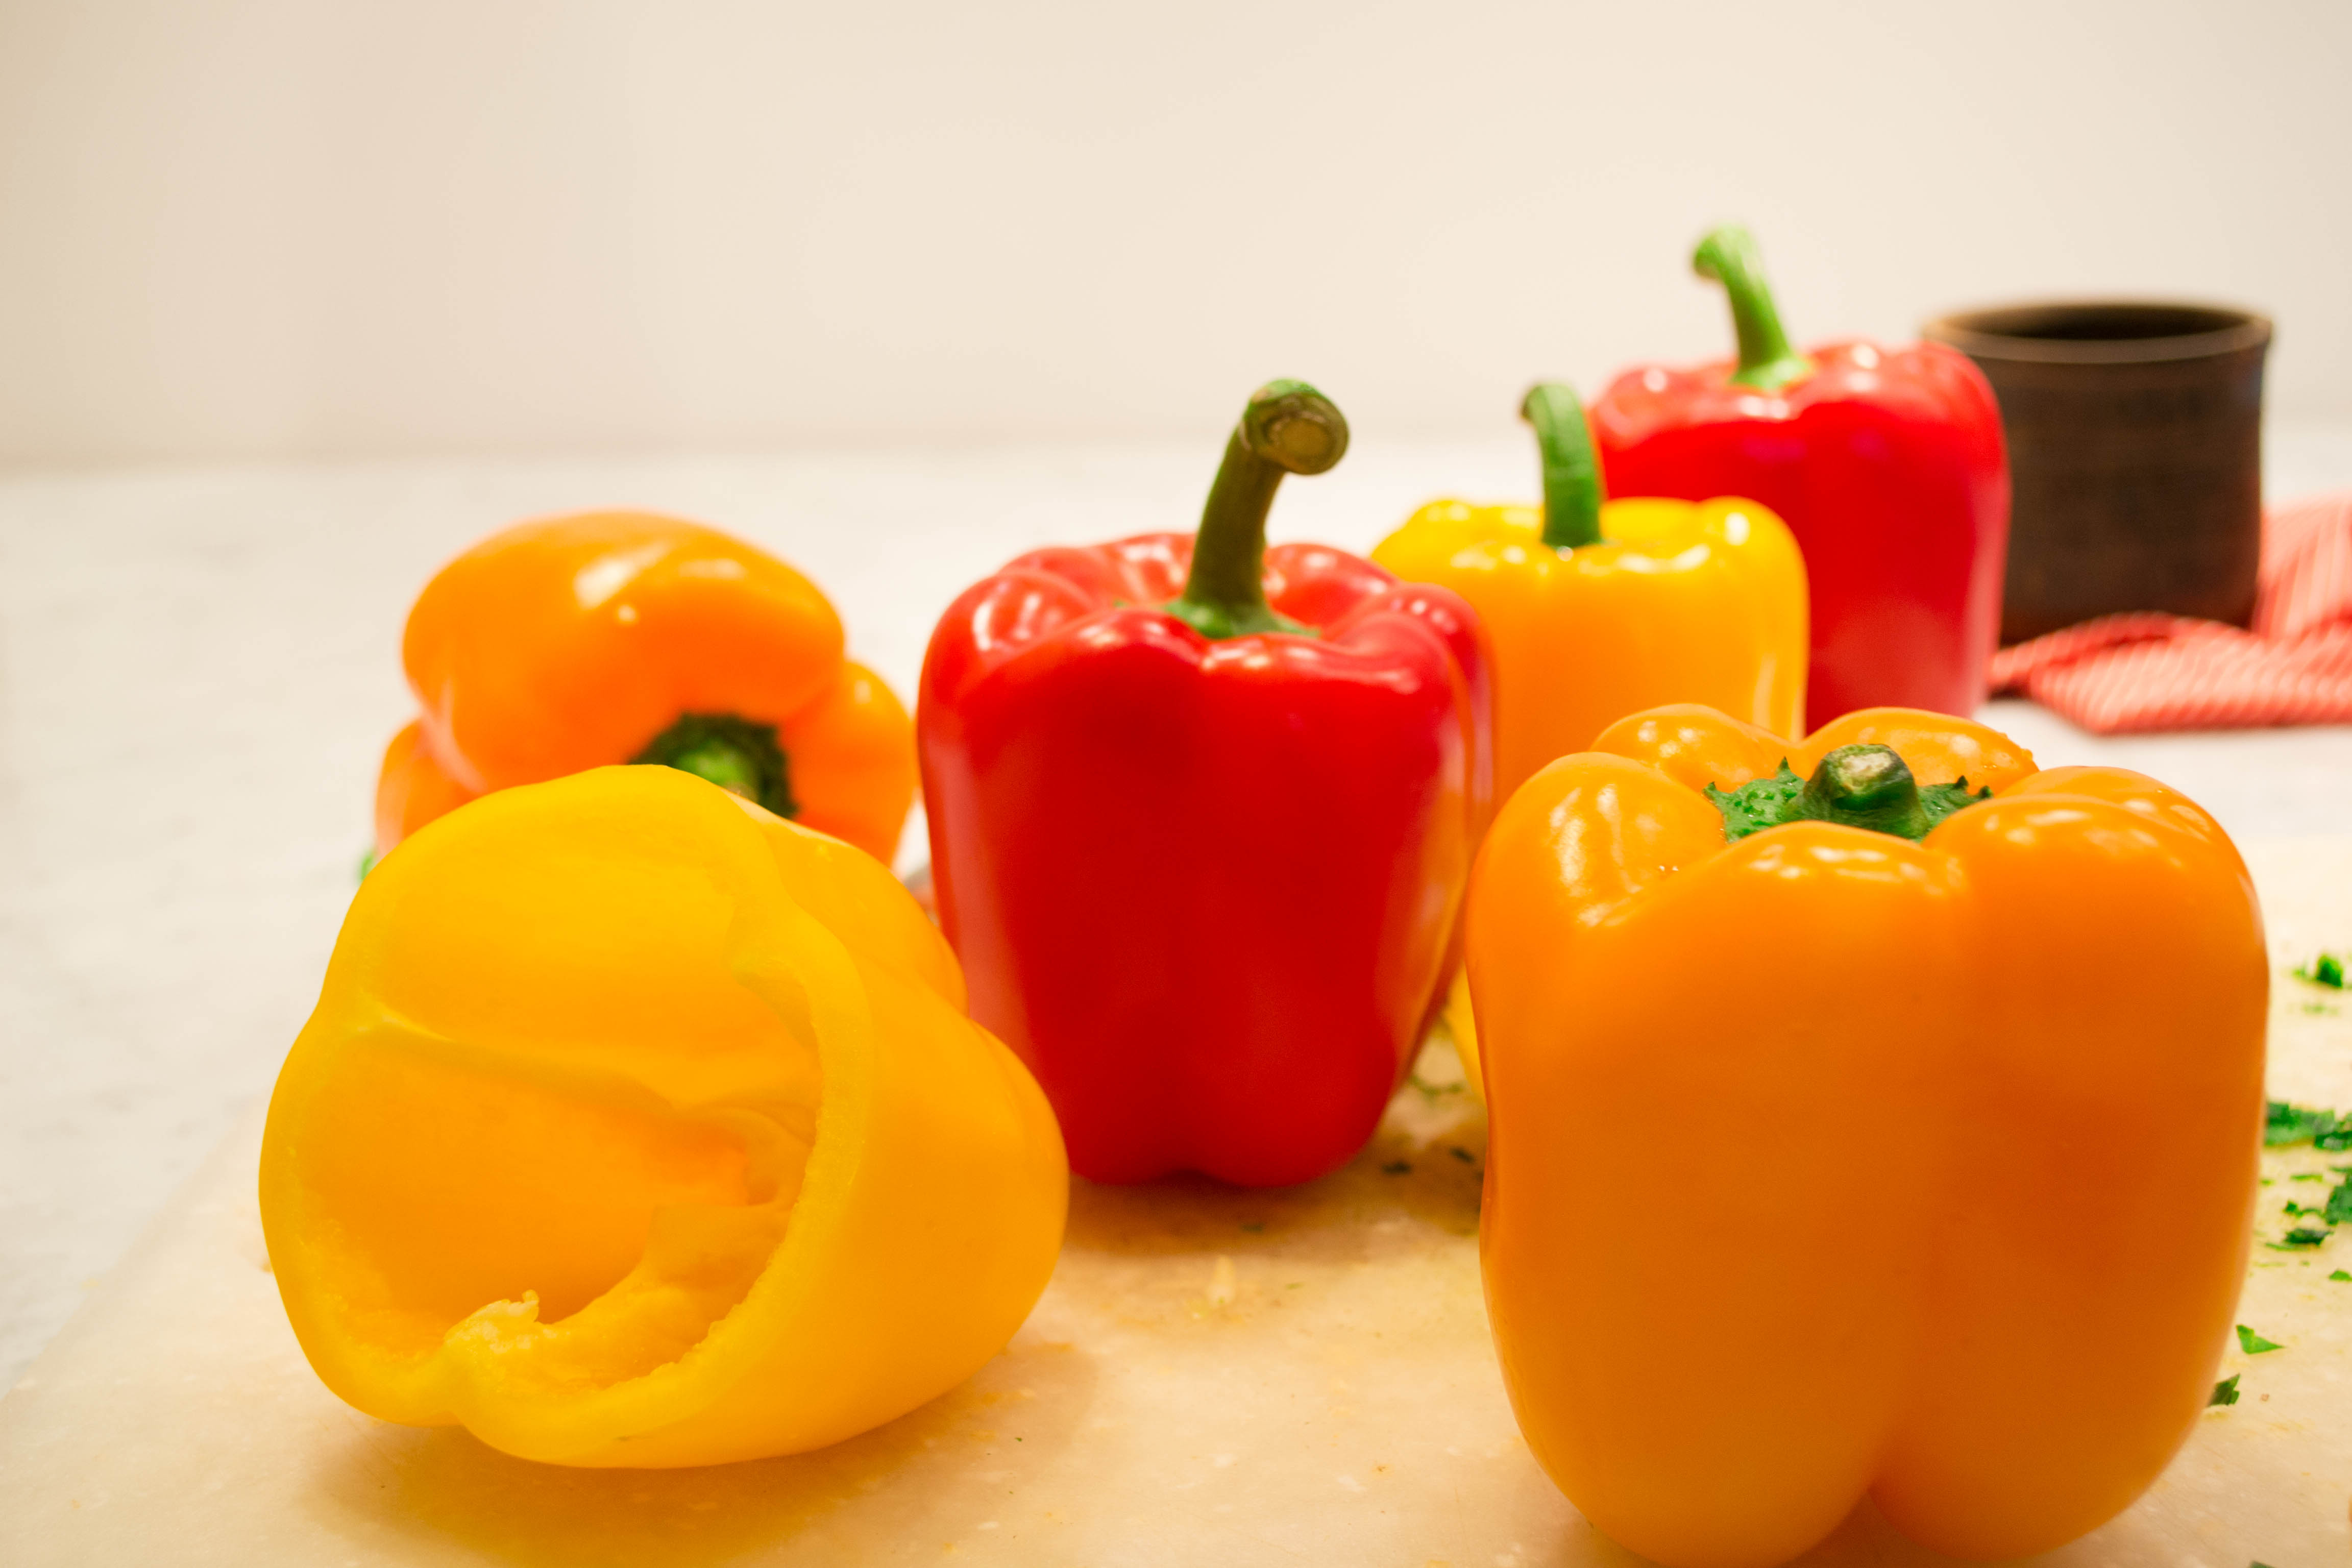
- 6 peppers, preferably of different colors
- 5 garlic cloves chopped into small pieces
- 1½ cups of dry quinoa
- 1 pound of mushrooms diced into small pieces
- 8 oz package of plain tempeh cut into pea sized pieces
- 1 large sweet onion diced into small pieces
- 1 large bunch of fresh parsley chopped, chopped, chopped
- 1 cup of cooked peas
- 4 heaping teaspoons of cumin powder
- 3 tablespoons of tomato paste
- 3 tablespoons of olive oil plus more to drizzle while cooking if needed
- 1½ cups of vegan cheese for topping (optional)
- Salt and pepper
- Fill a medium pot with 3 cups of water and add salt. Rinse quinoa well and add to the water. Cook over medium heat until it comes to a boil. Lower heat and simmer for 10-15 minutes or until all water is absorbed. You should be able to fluff quinoa with a fork and the kernels should be, plump, yellow and have white halos around them.
- While the quinoa is cooking, take a small knife and cut the tops off the peppers and save them. Take seeds out of peppers and with a small pairing knife slice the veins away from the body as much as possible. Discard seeds and veins.
- In a separate large pot, add the 3 tablespoons of olive oil and cook onions first over medium heat for one minute and then lower heat to medium low and continue cooking until translucent.
- Add garlic and whisk around the pot until it is soft and making sure it doesn’t burn. You can add extra olive oil here if it will make it easier to cook without burning. Add mushrooms and cook until soft. Add cumin and tomato paste and whisk for a few seconds.
- Add tempeh and parsley and cook for another 10 minutes stirring to prevent sticking. Turn heat off.
- Add cooked quinoa and mix everything well. Add more olive oil if mixture needs moisture.
- Add salt and pepper to taste.
- Preheat oven to 350 F. Drizzle some olive oil in a baking pan.
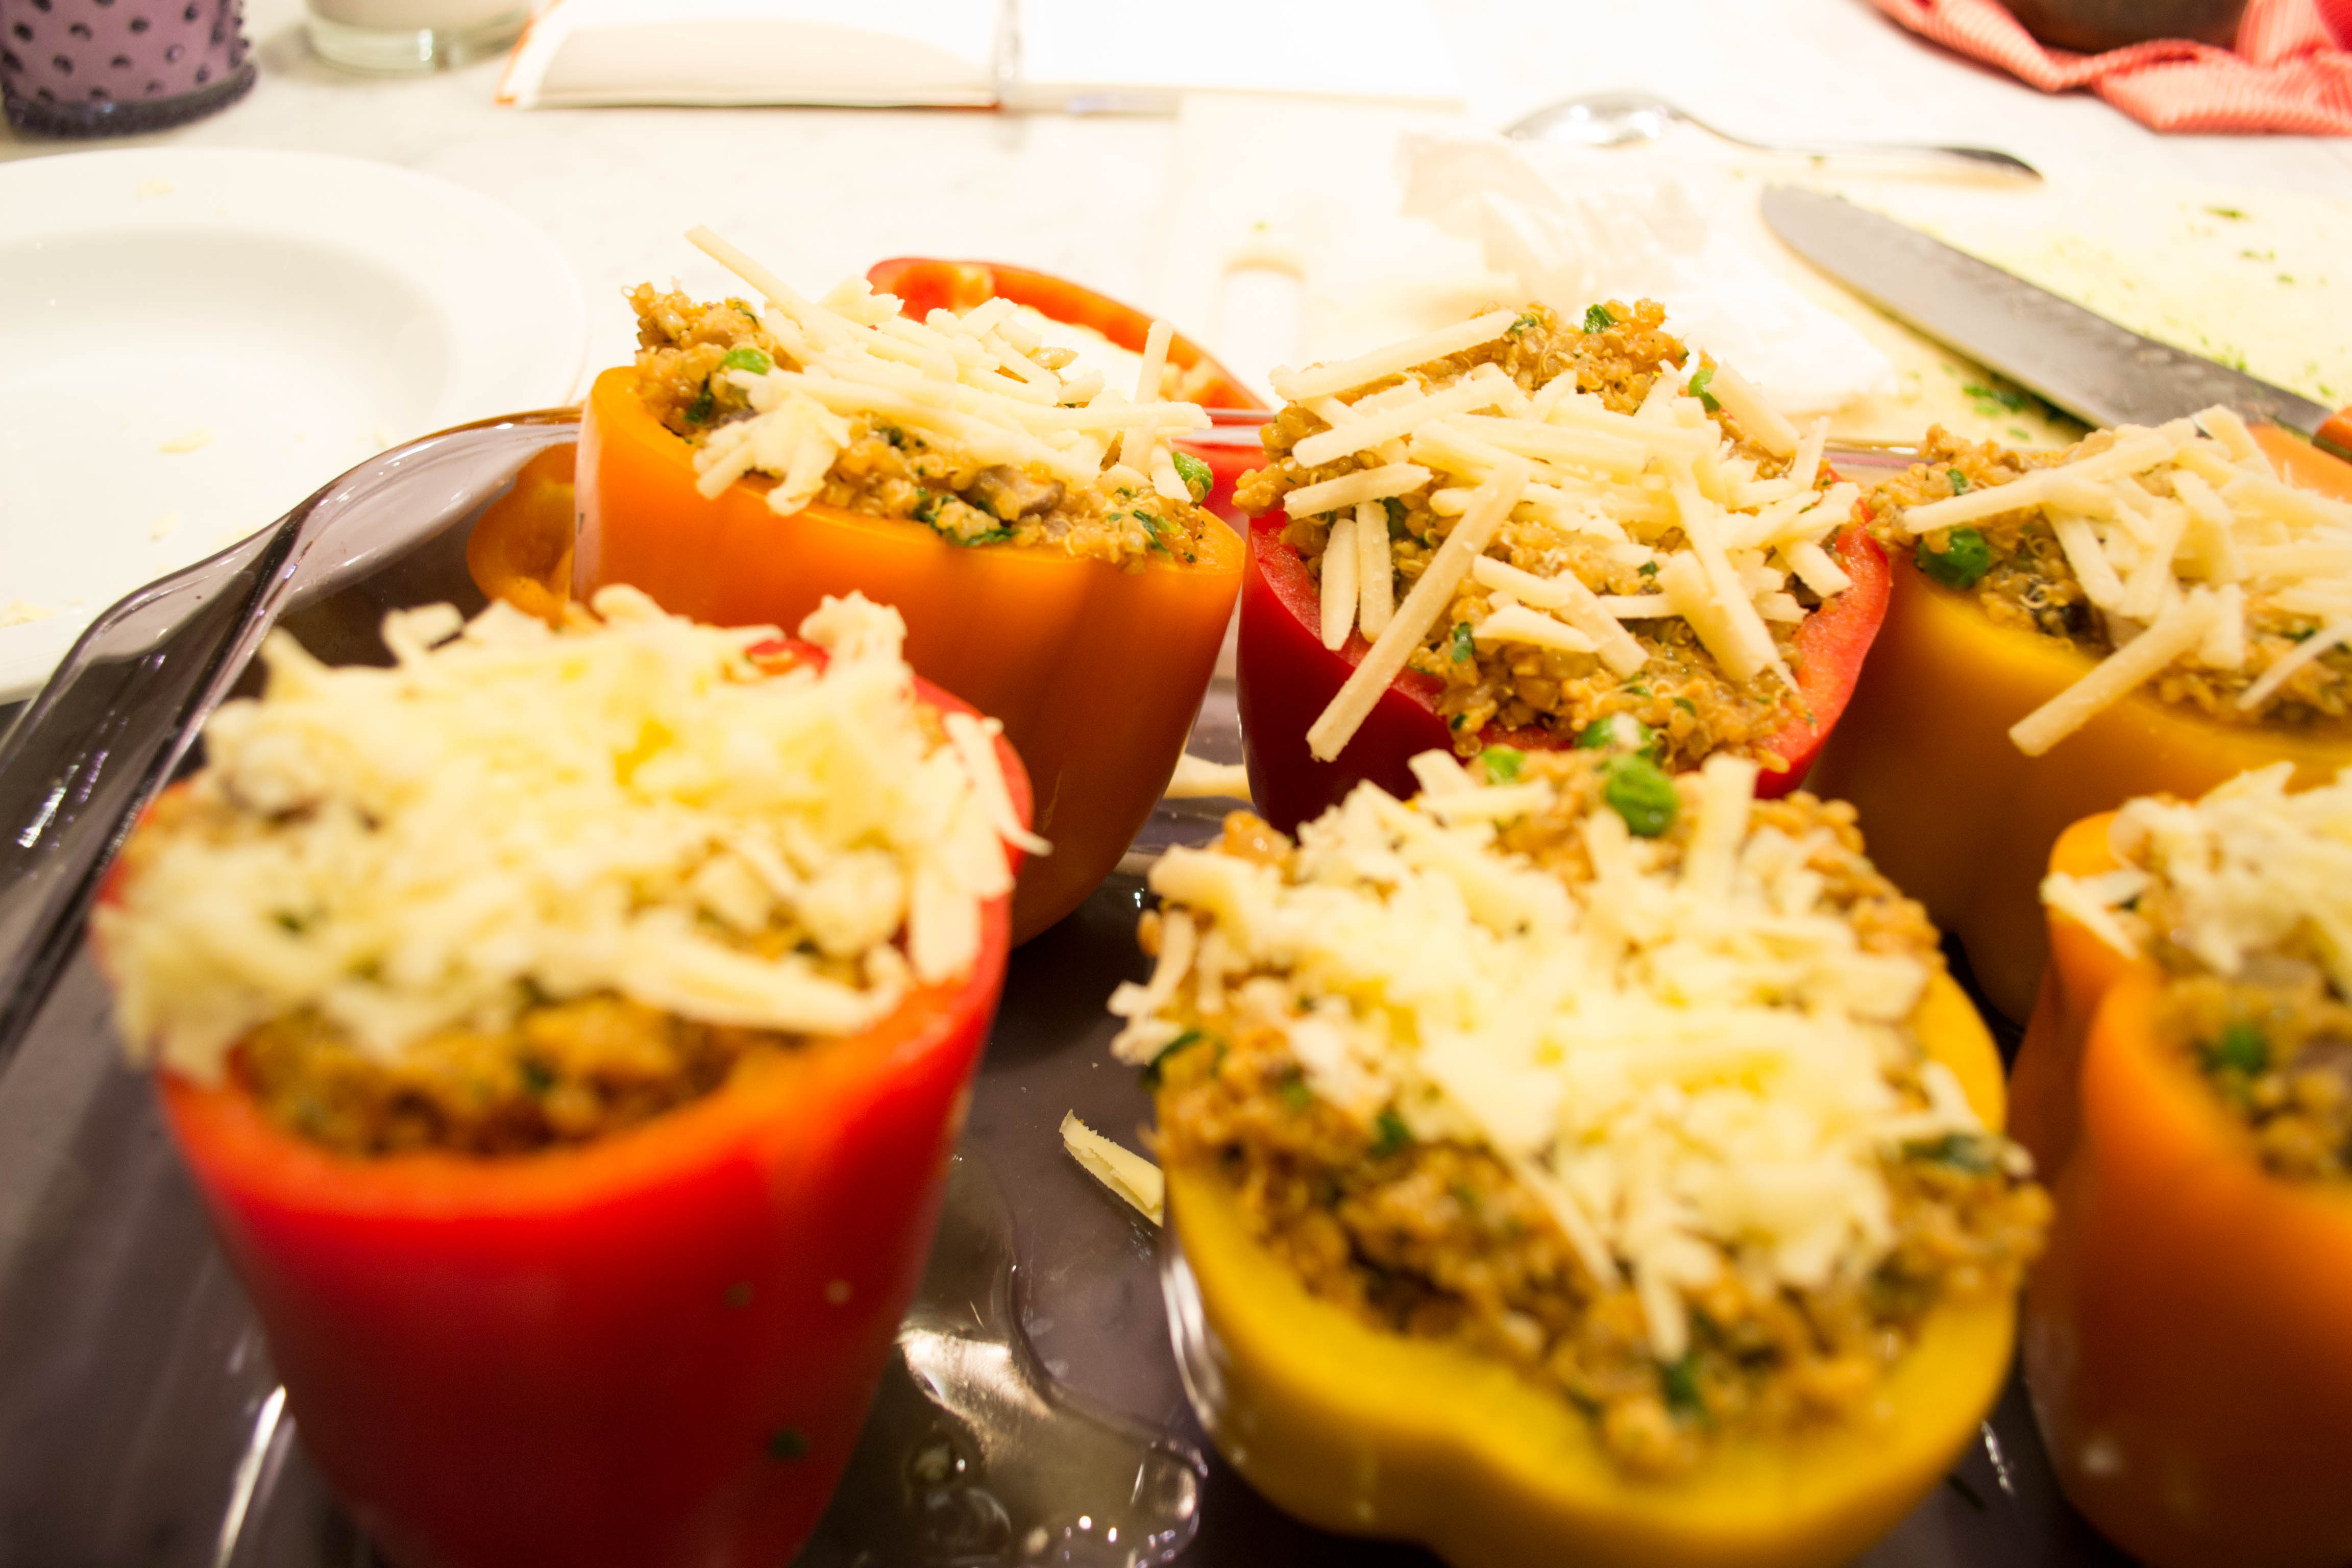
- Fill each pepper to the top with tempeh/quinoa stuffing. Add cheese if you’d like to the top. Place peppers inside baking dish and cover with their respective lids. Cook on the middle rack for 45 minutes or until peppers are soft and with a bit of scorch at their tops. You can always peel off the scorch if it bothers you.
- Cool for 10 minutes and serve. .
Pin It